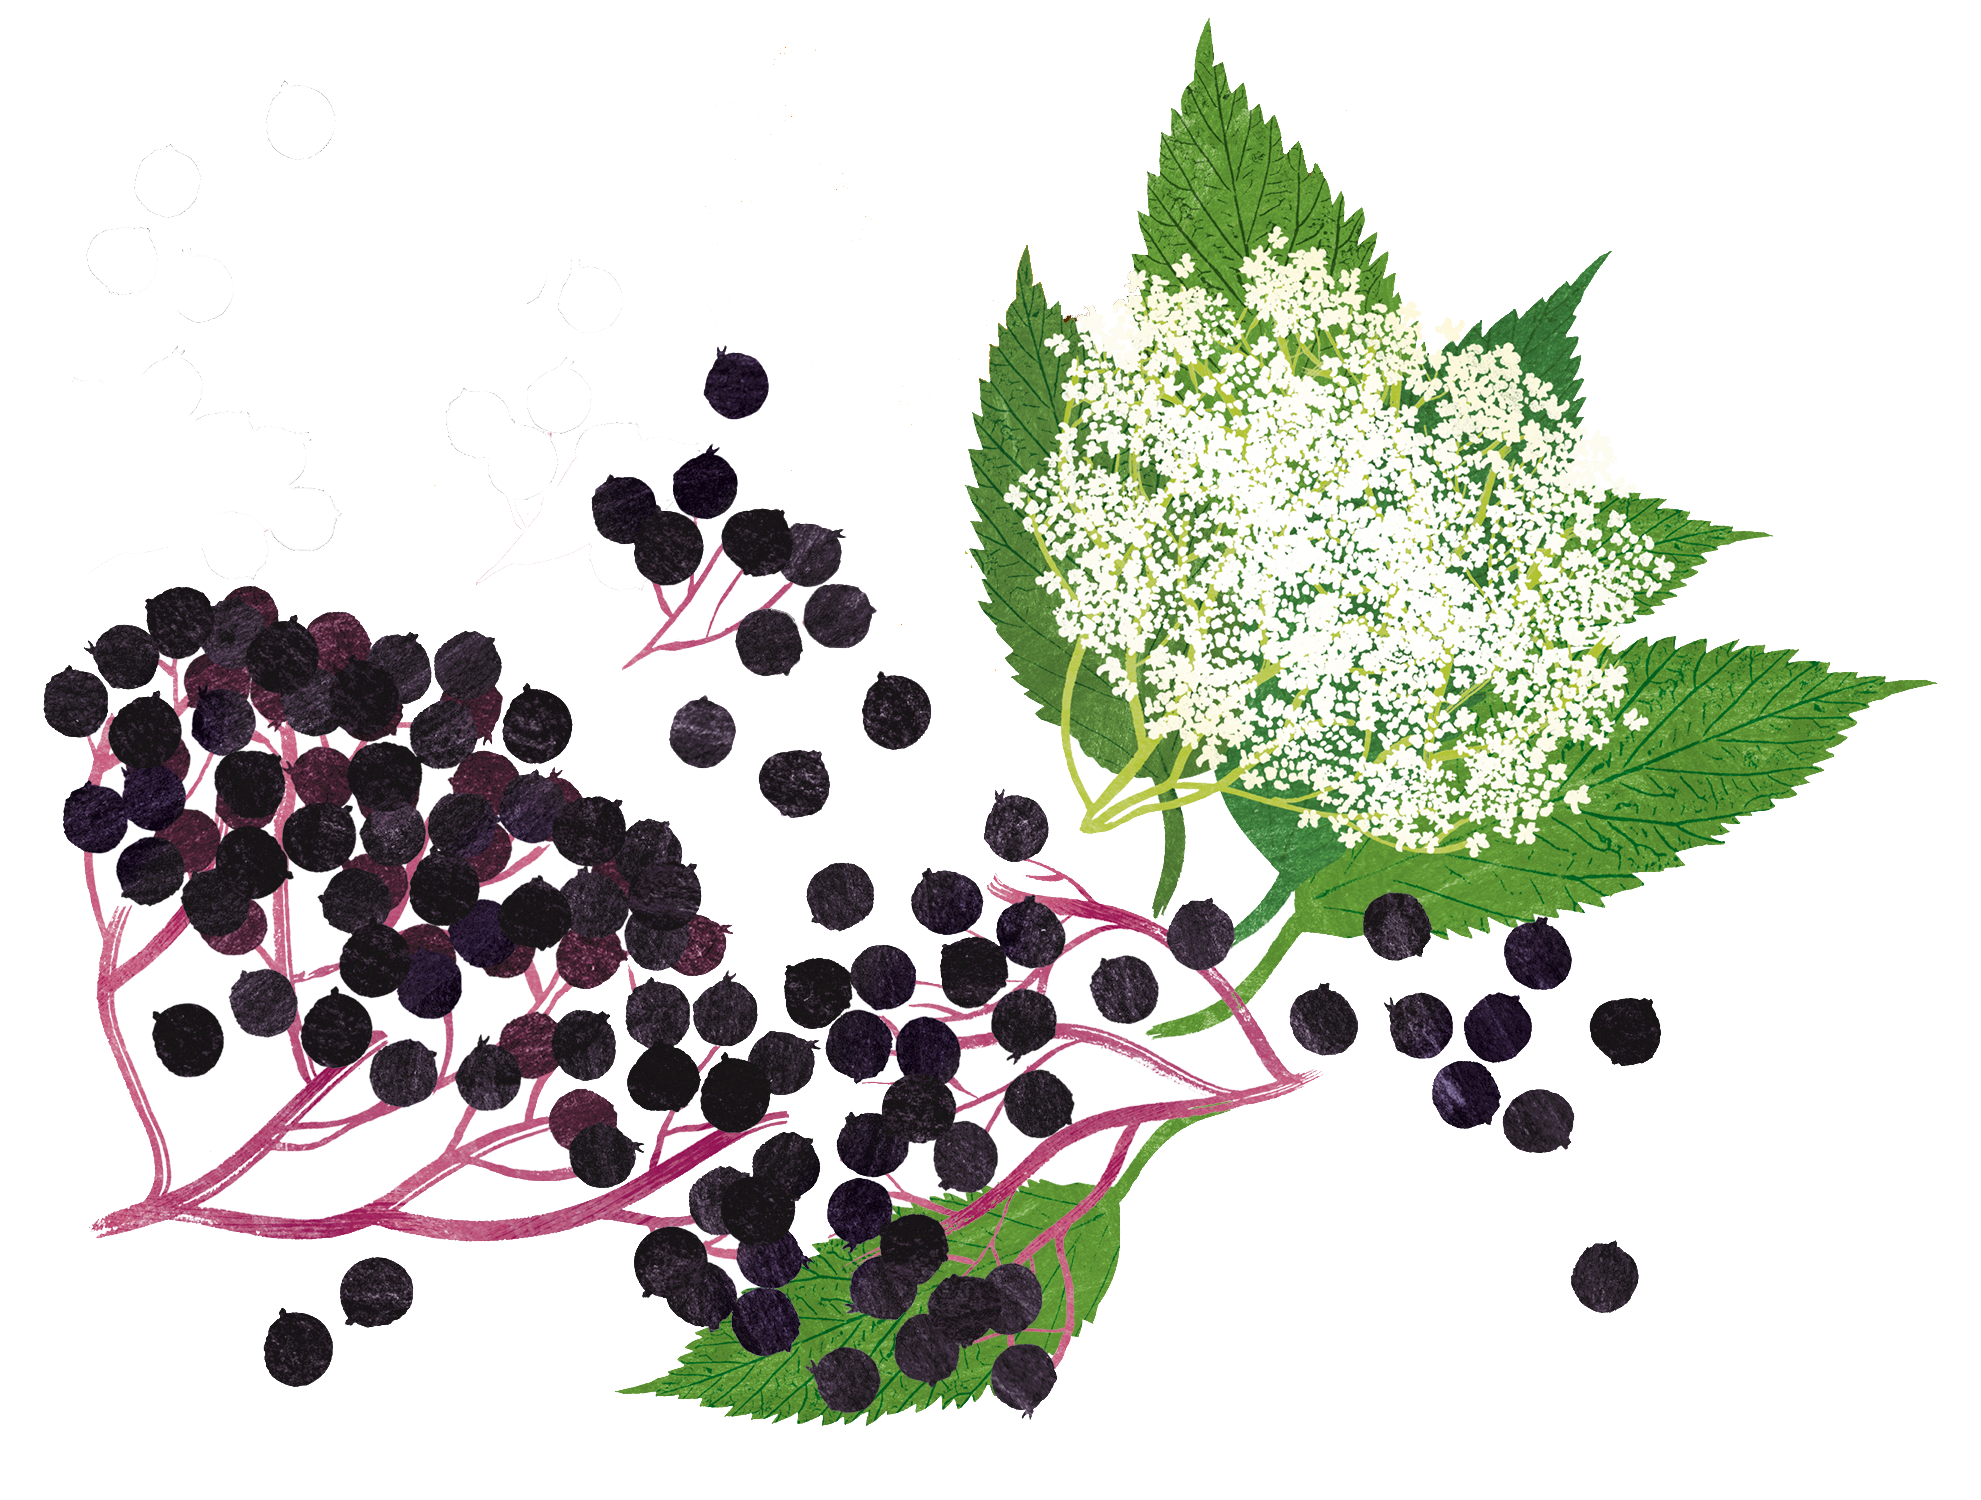
Makes about 6 half-pint jars. Eating raw elderberries is not recommended.
INGREDIENTS
Zest of 2 medium lemons
2 pounds elderberries, destemmed, rinsed, and dried
2 pounds fresh or frozen dark cherries (fresh cherries should be pitted)
4 cups sugar
1/2 teaspoon kosher salt
DIRECTIONS
SUGGESTED EQUIPMENT
You’re going to need a very large pot. Get at least the 21.5-quart size to ensure you have enough space at the top for canning.
Make sure to purchase a standard canning rack. It should have handles to help lift the jars out of the hot water, keep the jars from hitting the bottom or bumping into each other, and allow water to flow on all sides of the jars for even processing.
Make sure to grab a canning funnel. Its spout is larger than a regular funnel and fits inside a 2-to 3-inch jar mouth, perfect for ladling jam, salsa, or even veggies.
Before starting, sterilize jars and let dry on a clean cloth or drying rack, ready to be filled with delicious jam.
- Combine zest, sugar, elderberries, cherries, and salt in a large, wide heavy-bottomed saucepan. Stir well and let sit for about an hour. Note: You are not placing the pan over heat yet. This process is referred to as maceration, and you can do it a full day in advance by placing the pan in the fridge, if you like. Macerating releases the sugars and enzymes in the fruits to help create a thicker syrup. Dry sugar poured straight into the pot can quickly caramelize while you are cooking down your fruit, but letting the mixture sit first allows the sugar to blend in with the fruit juice before you begin cooking.
- Place your macerated fruit mix on the stove on medium low heat and bring to a boil, stirring constantly and gently, to dissolve the sugar.
- Once boiling, continuously stir to keep sugars from caramelizing. You want your jam mixture to reach the gelling point—about 180 degrees.
- Continue to boil for about 30–45 minutes to reach the perfect gel temp—220 degrees.
- Simmer a small saucepan of water on the stove and submerge jar rings and lids. This will soften the rubber on the lids to help create a better seal once you have filled your jars and are ready to process.
- When your fruit is at the gelling point, remove from heat and ladle it into your previously prepared canning jars, leaving 1/4 inches at the top. Tap to let the air bubbles rise and escape.
- Wipe your rims with a damp, clean cloth or wet paper towel, cover with lids, and screw on rings.
- Place jars gently into a water bath using a canning rack and process for at least 10 minutes. Water should be on a high simmer, and jars need to be fully submerged with at least 2 inches of water covering them.
- When jars have been submerged for 10 minutes, pull them out of the water and cool completely on a cooling rack or clean towel. Jars will “ping” or “pop” as they cool, so don’t be alarmed. That’s the jars sealing. Let them cool overnight for the best seal.
- If you don’t want to water process or fool with canning methods at all, you can skip boiling the jars. Instead, seal well in the sterilized jars and freeze for up to one year.


